DISPLAYING YOUR COMPLETED LEGO SETS
Is your LEGO hobby driving you up the wall? If so, maybe that's exactly where you need to go.
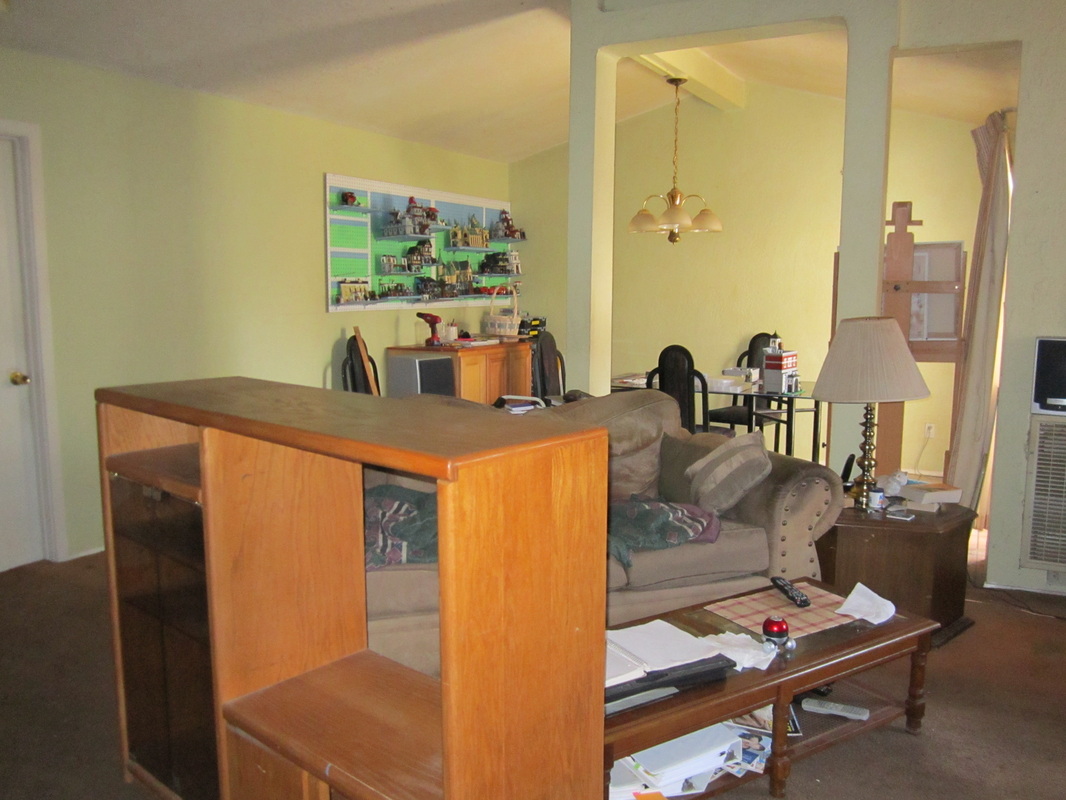
You start with a "work area," then a whole desk or table top. Next a drawer or two, some bins, some boxes. Then half a room, then a whole "Lego room," and maybe more when you add in your display space! Where are you going to PUT all this stuff?
You start with a "work area," then a whole desk or table top. Next a drawer or two, some bins, some boxes. Then half a room, then a whole "Lego room," and maybe more when you add in your display space! Where are you going to PUT all this stuff?
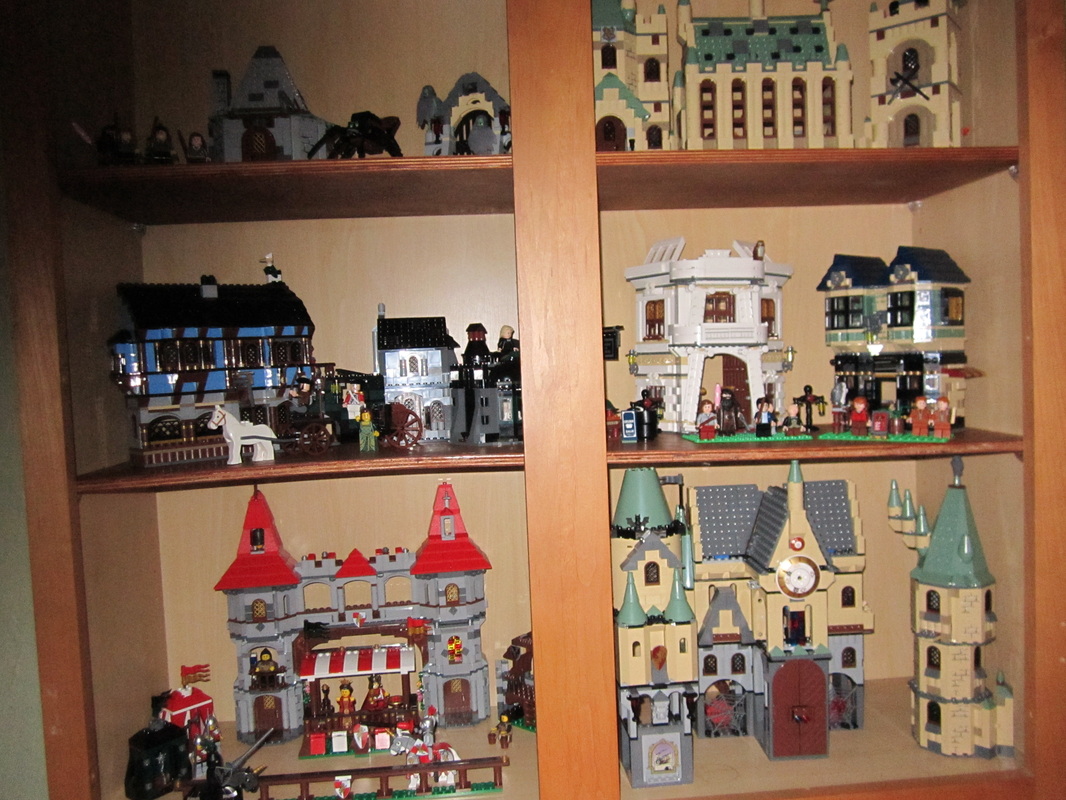
BEFORE: 5 completed kits crammed into a cabinet.
Displaying your finished pieces, anywhere, is always going to take less space than original bags and boxes lying all over the floor, or categorized pieces in bins and cabinets -- sitting on the FLOOR.
Even store-bought or home-made display cabinets still take up precious floor space. It seems like your only other choice is tabletop space, and most small rooms don't give you much of that. |
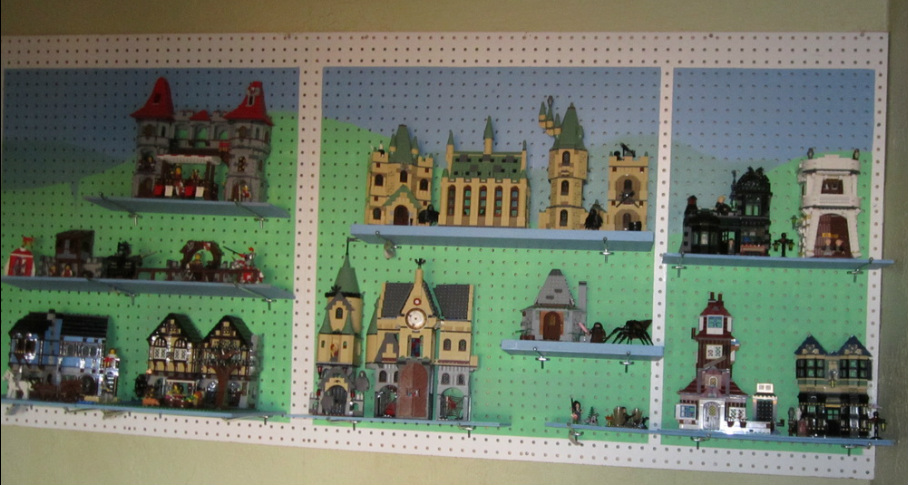
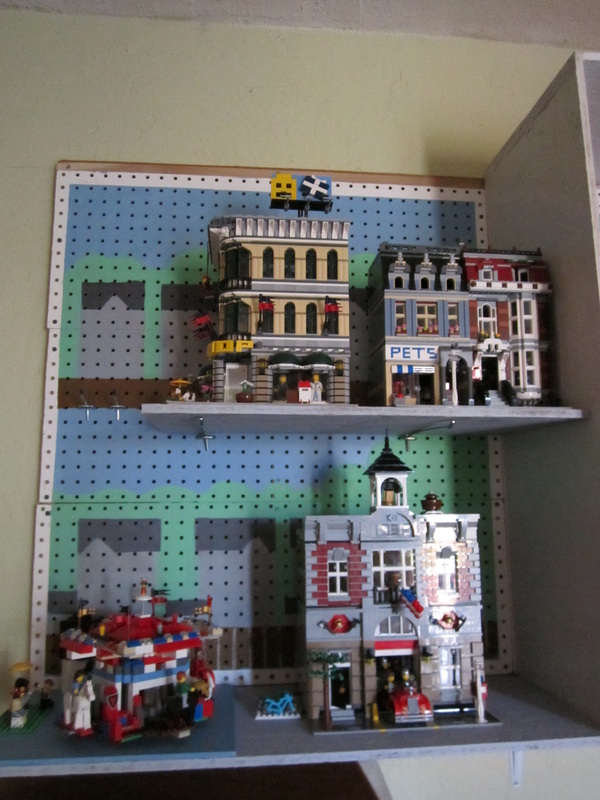
AFTER: Same 5 kits, plus 2 more, partitioned into a 3' x 8' wall display.
So here's the common problem: You have to start breaking down your models because you have so little display space. Now your storage needs escalate! You end up, like so many, in HONOB: Hoarding Not Building. Where has all the creativity gone?
Do you really WANT a room full of plastic bins which are unworkable for easy, hands-on, tabletop building? Where's the fun in that? |
Our solution was to keep the sorted storage at minimum by keeping the display at maximum. Displaying your finished pieces is always going to take less space than stuff on the floor. Think hard about going up the walls. Here's how...
Rule #1 Don't disassemble it! Don't store it! DISPLAY IT!

The Plan. Very few changes were made to this.
|
Mounting pegboard on 1 x 1 strips.
|
Background sections painted in Lego-like colors.
|
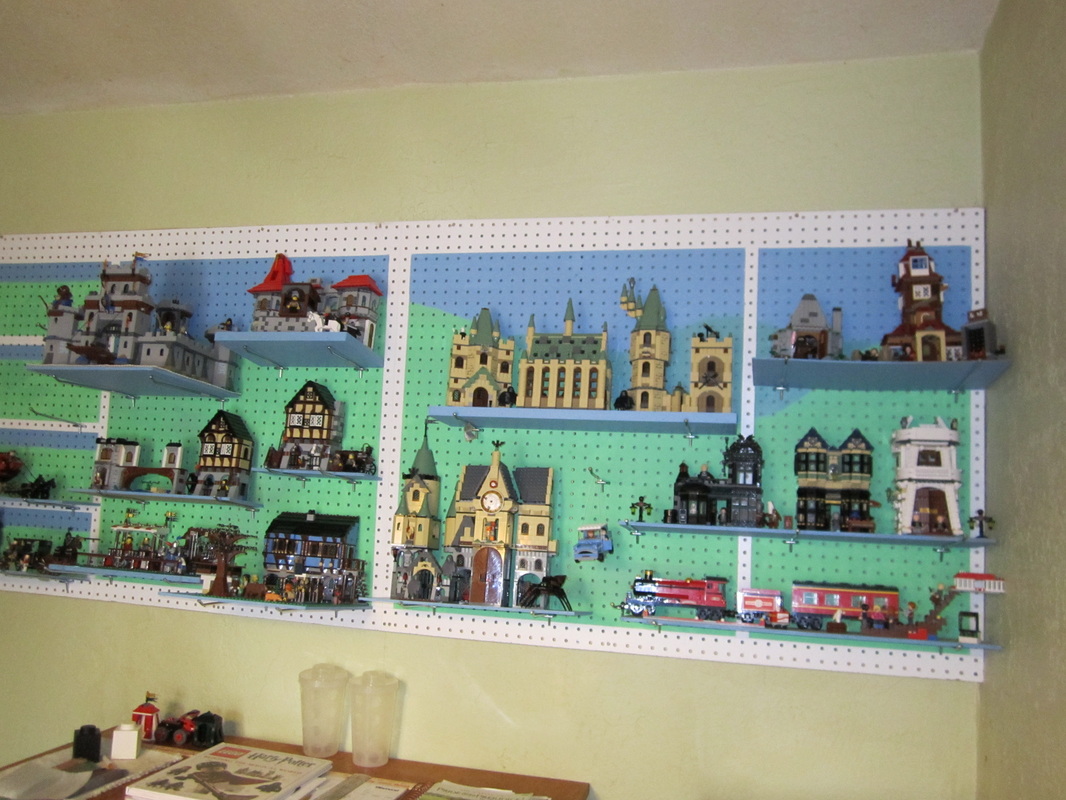
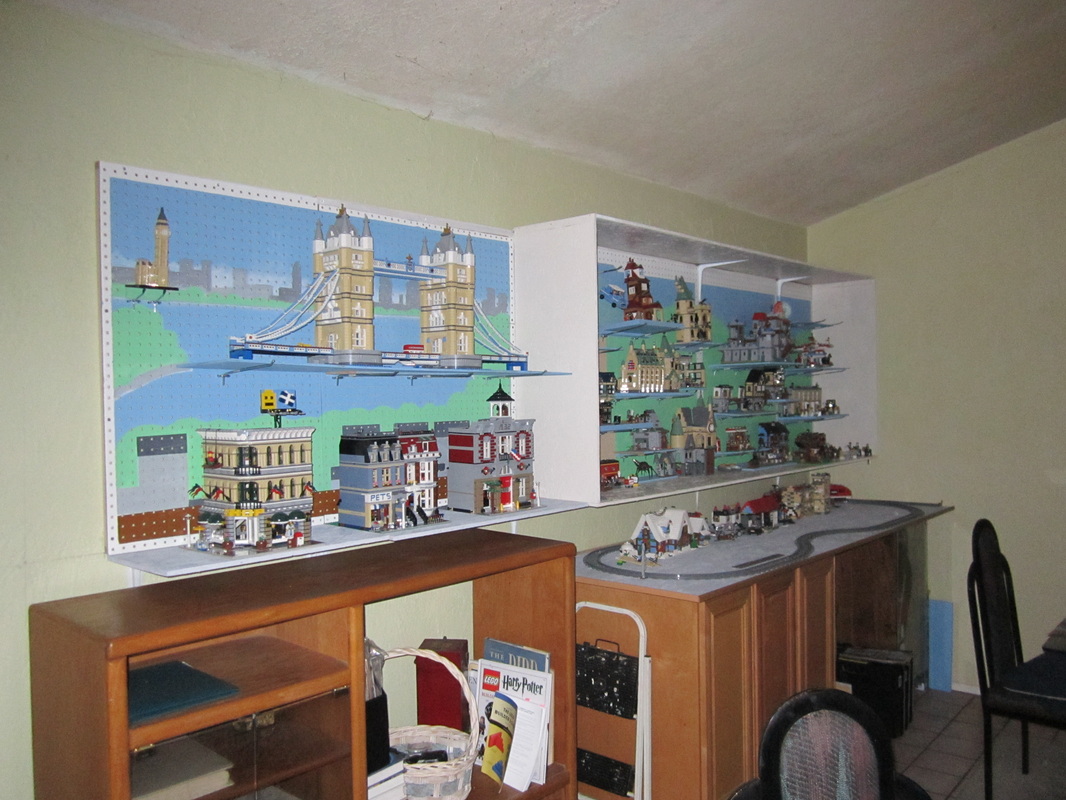
We chose to go up the walls with a sectioned diorama type display, with pegboard and flexible shelves that can be rearranged.
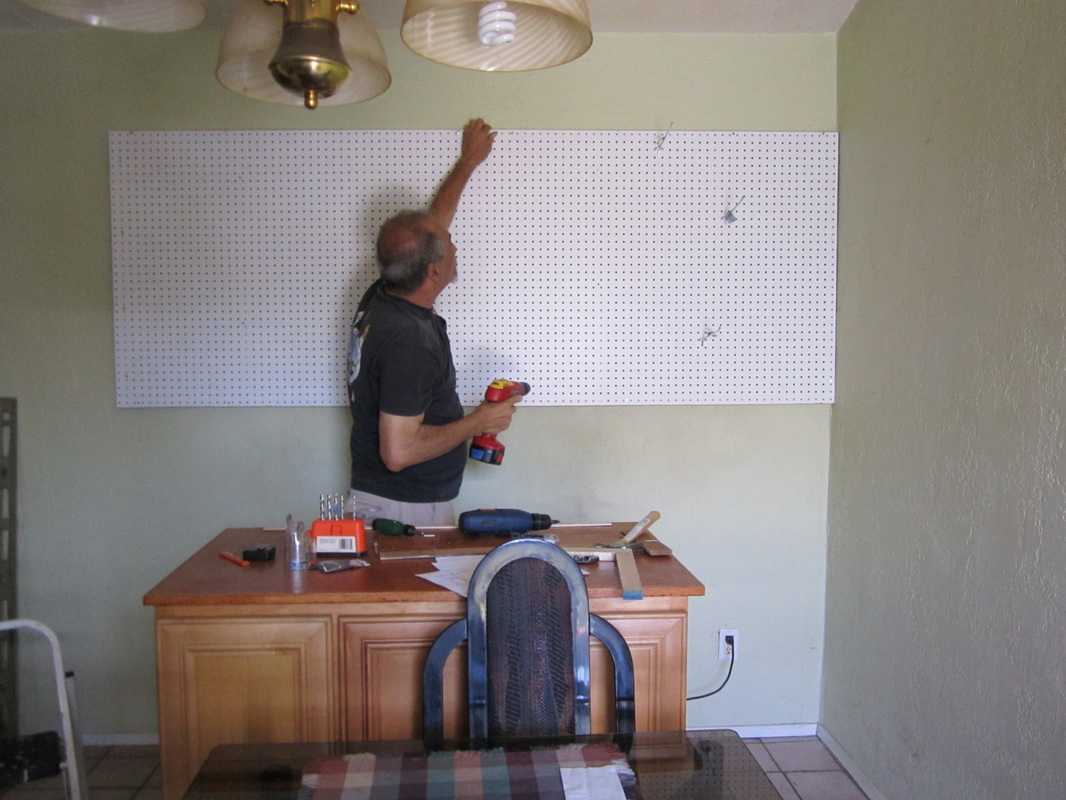
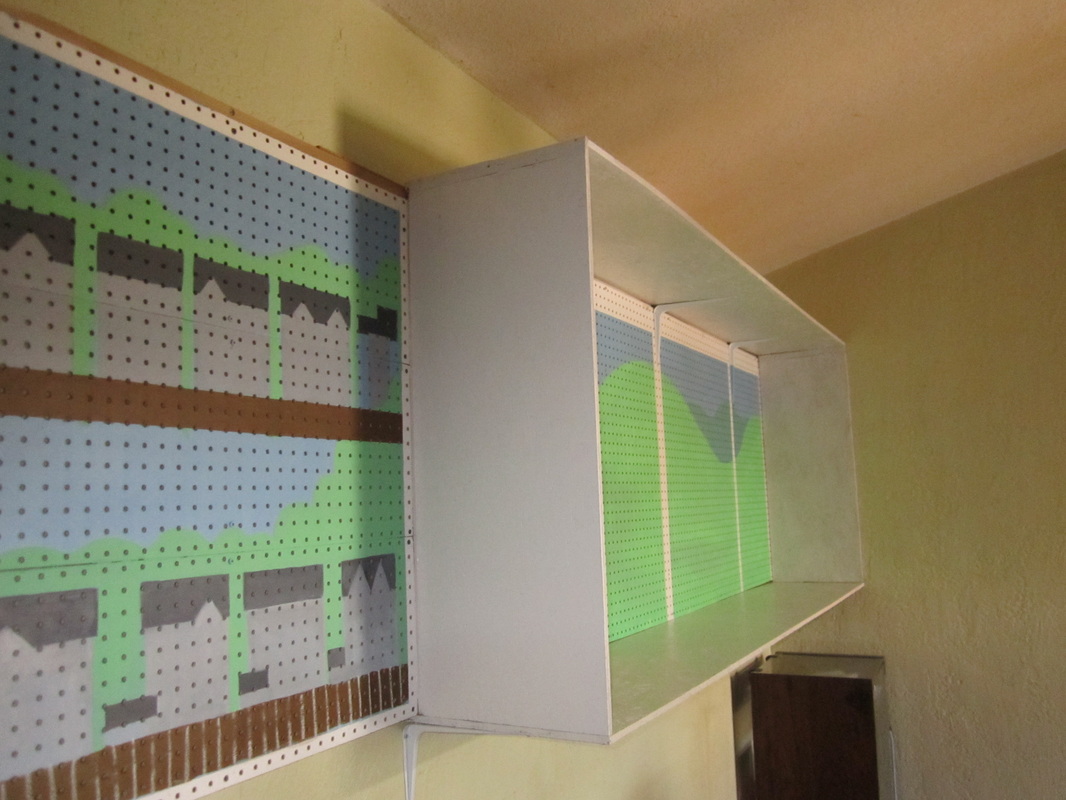
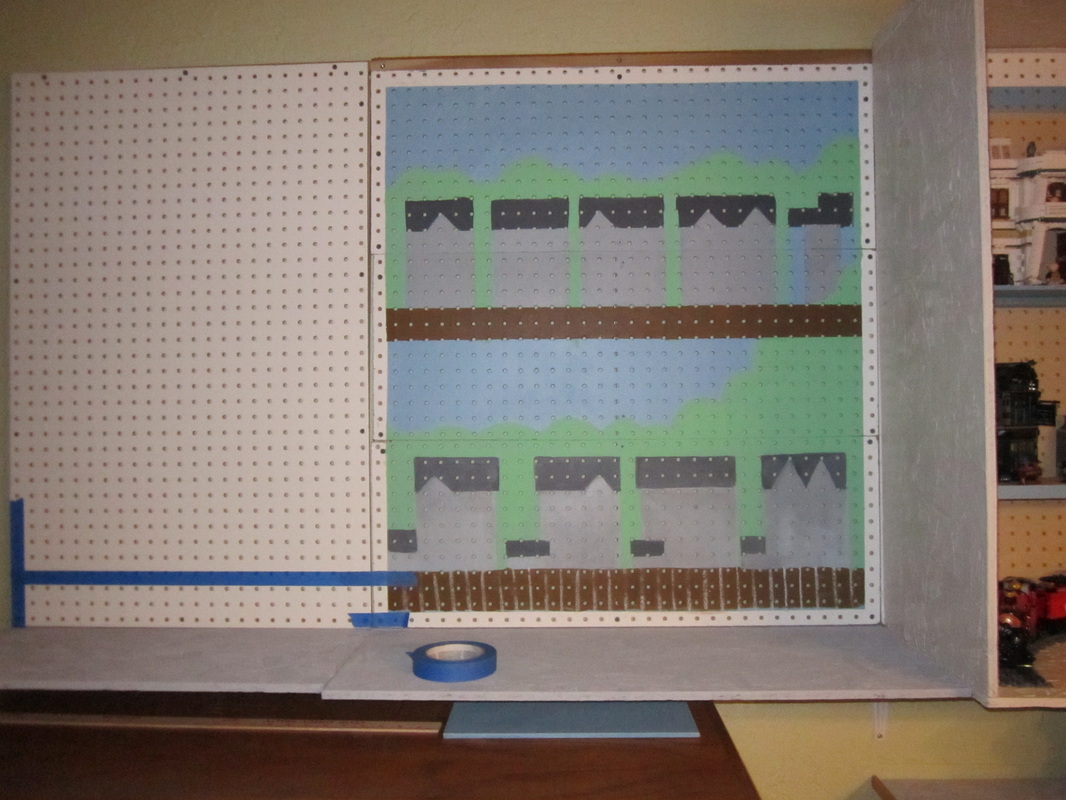
The 4' x 8' pegboard was cut to size. It is only 36" high, with surplus pieces being cut for use elsewhere. The pegboard is not attached directly to the wall but to a 1" x 1" strip frame attached to the wall studs (not shown).
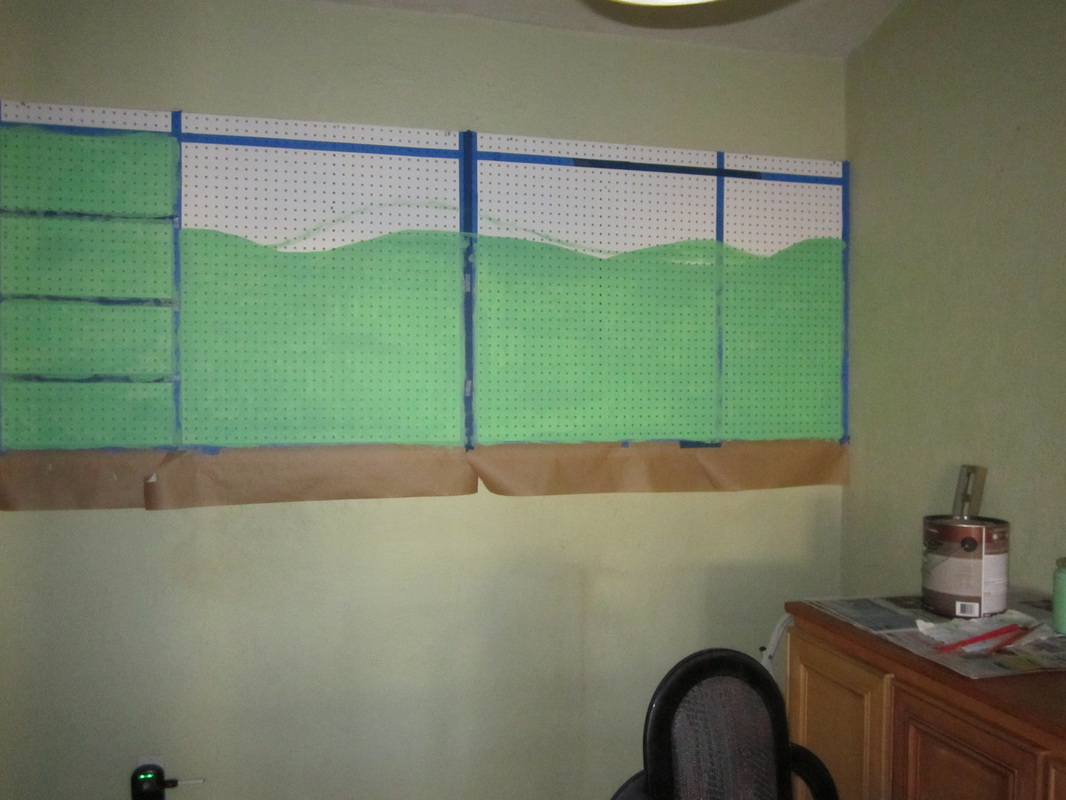
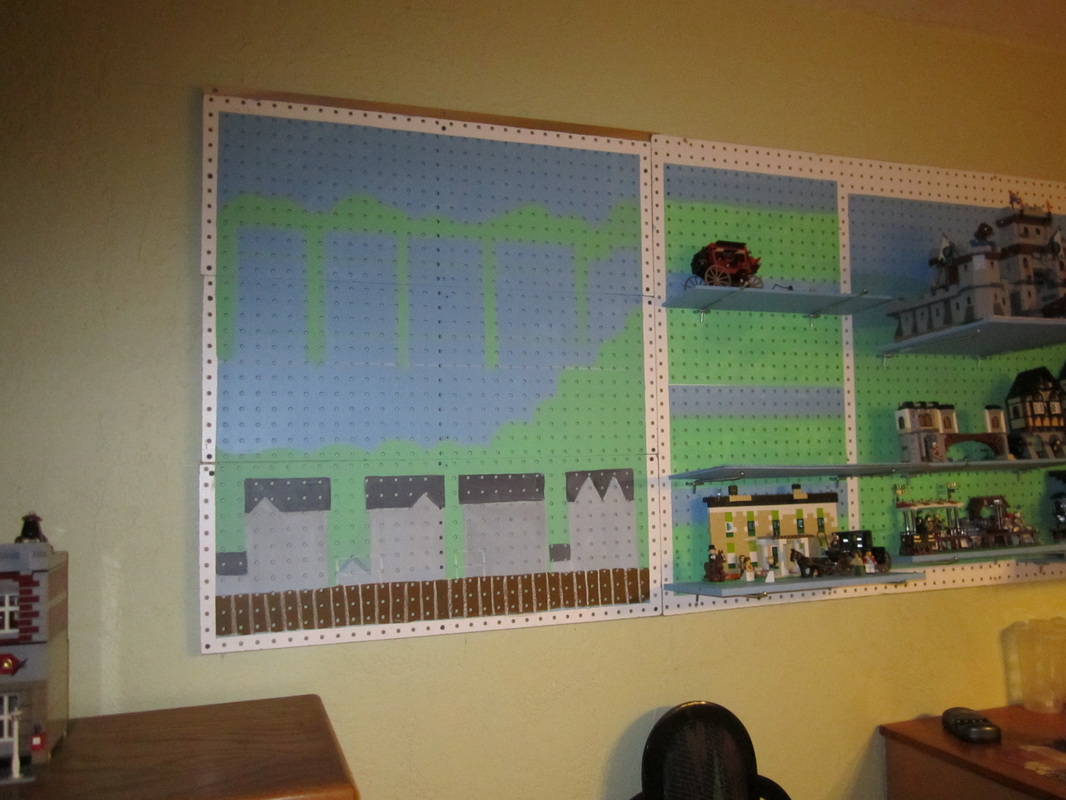
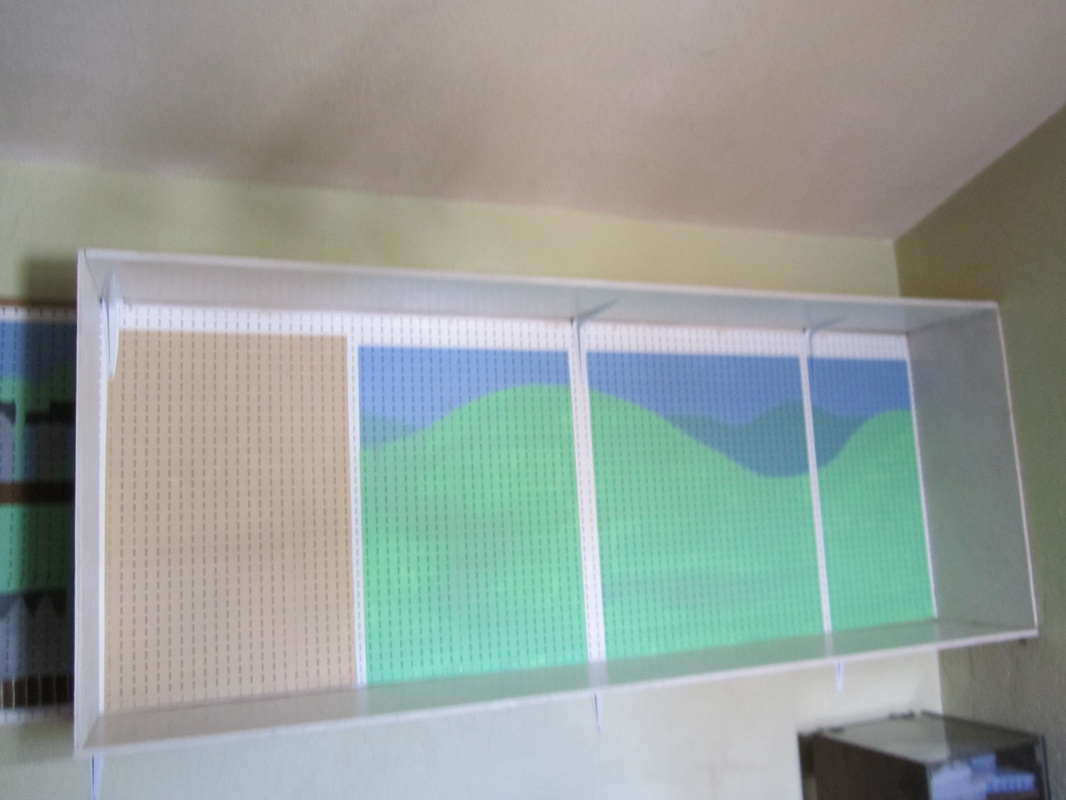
The next part was to mask off the sections as planned, and paint each background with acrylic paints. (I tried to stick with standard Lego colors.) These are not just "background colors" but a way of setting different scenes or themes (see Plan, photo 1). There are different things going on in each of the sections.
The general idea is that of a diorama, going "up the hill" to the highest point of each scene or location. I originally painted a river and lake into two scenes, but had to obliterate them due to constant rearranging of the buildings.
The 4' x 8' pegboard was cut to size. It is only 36" high, with surplus pieces being cut for use elsewhere. The pegboard is not attached directly to the wall but to a 1" x 1" strip frame attached to the wall studs (not shown).
The next part was to mask off the sections as planned, and paint each background with acrylic paints. (I tried to stick with standard Lego colors.) These are not just "background colors" but a way of setting different scenes or themes (see Plan, photo 1). There are different things going on in each of the sections.
The general idea is that of a diorama, going "up the hill" to the highest point of each scene or location. I originally painted a river and lake into two scenes, but had to obliterate them due to constant rearranging of the buildings.
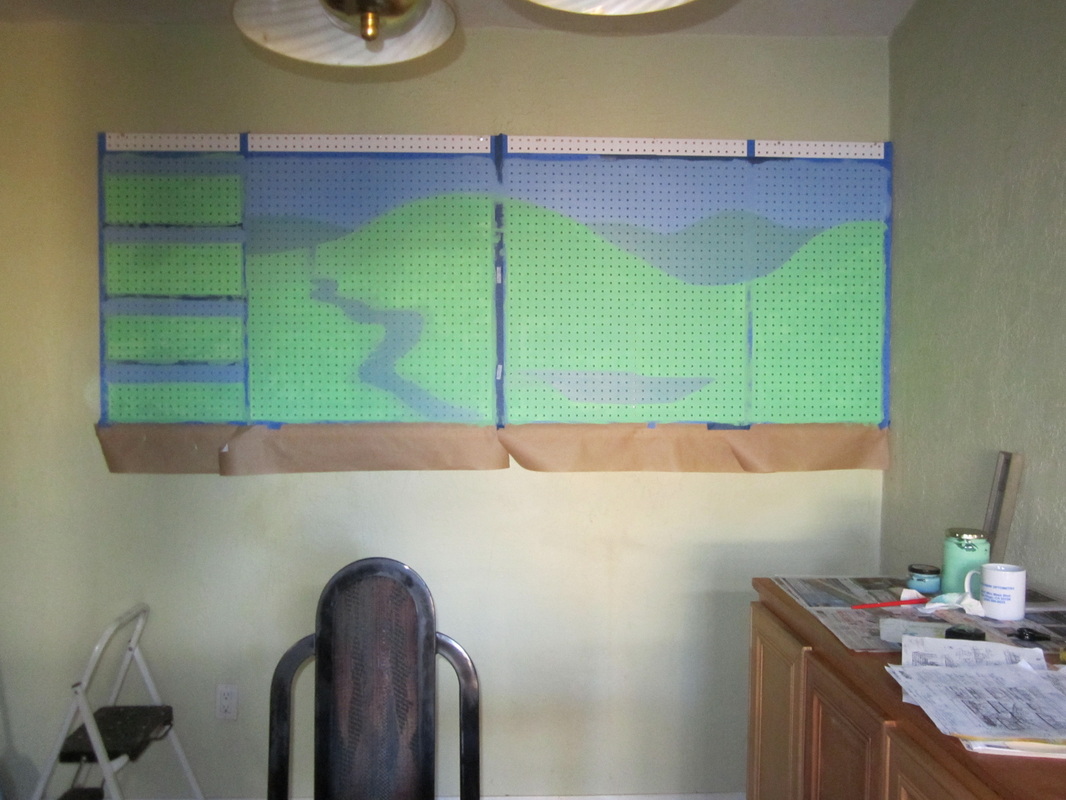
River and lake painted but erased, because of our constantly rearranging the buildings.
|
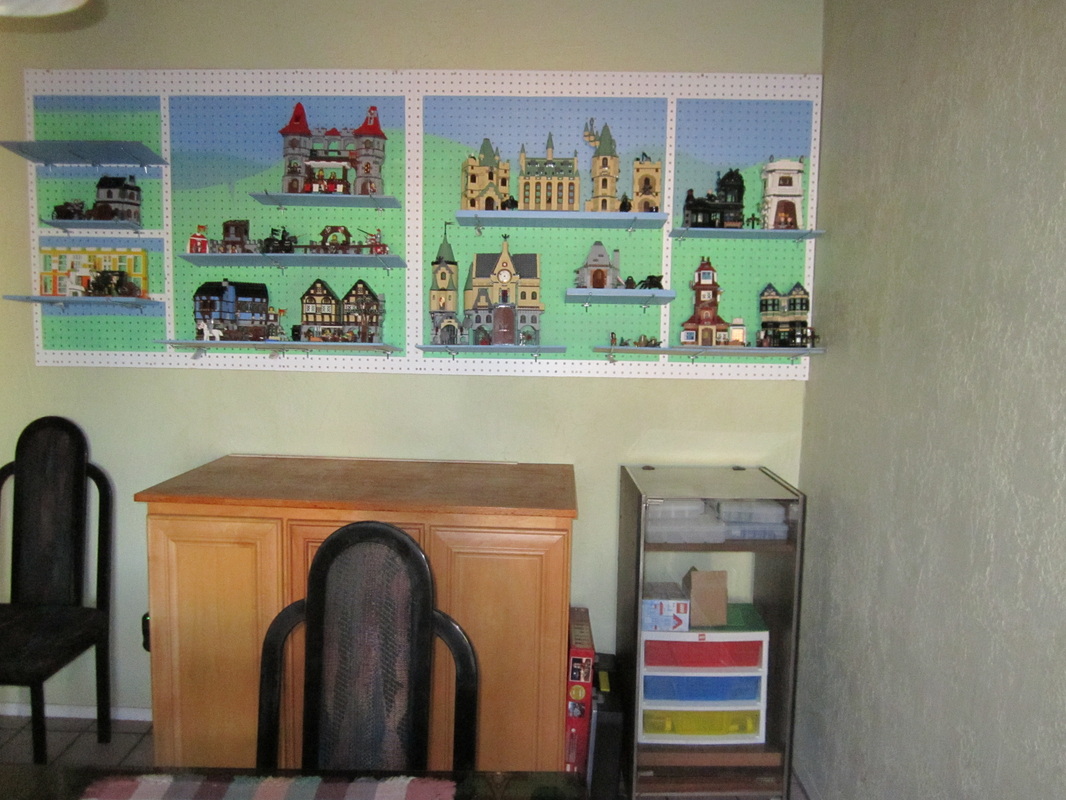
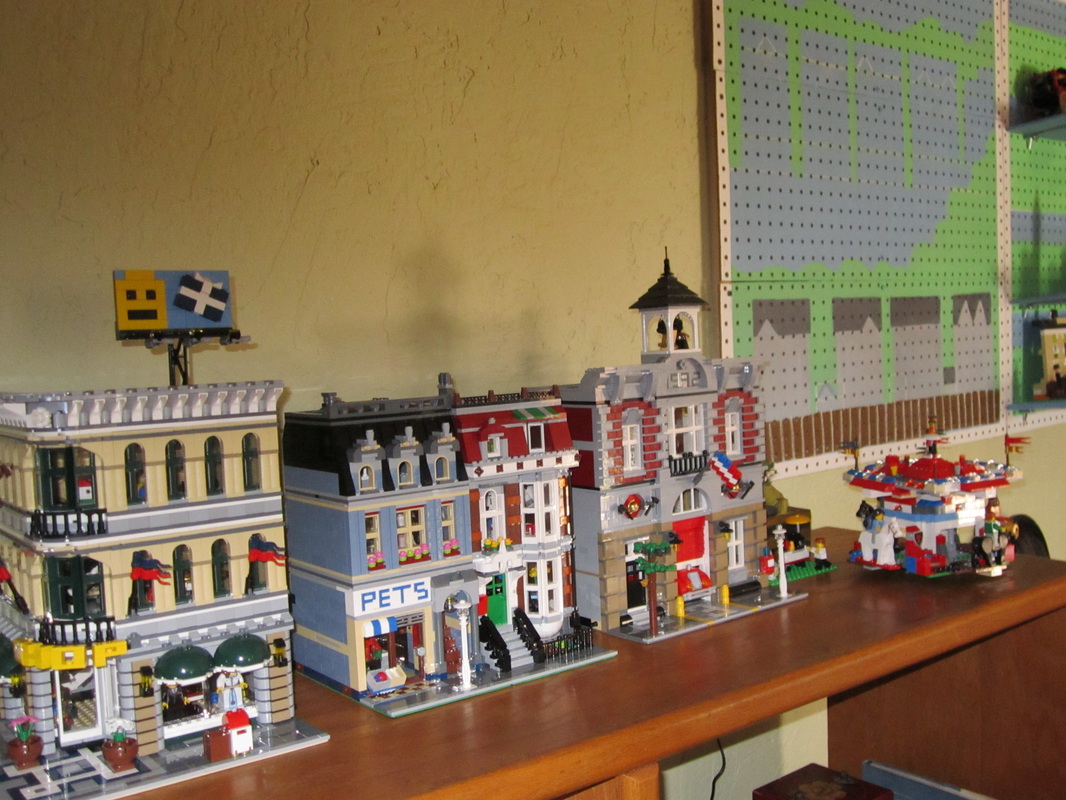
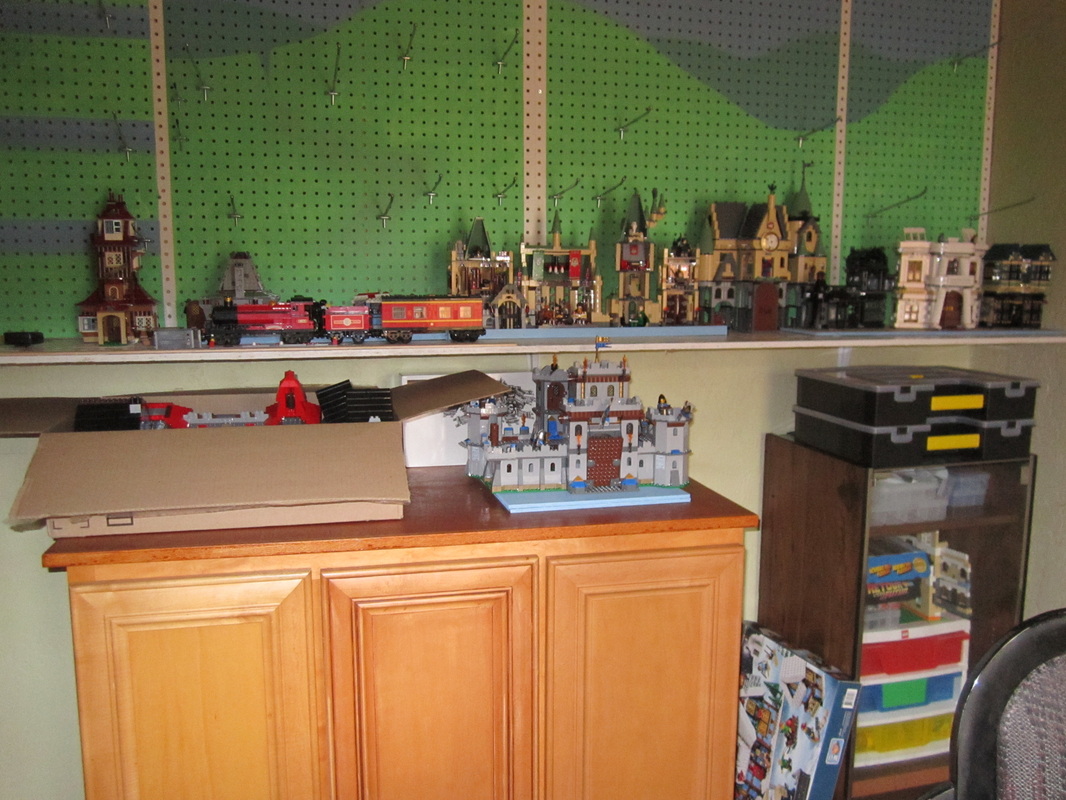
SEVEN large, completed kits on this wall. (Approx. 7 cu. ft. of storage space otherwise.)
|
At left: 2 first drafts of the 4 MOCs planned.
|
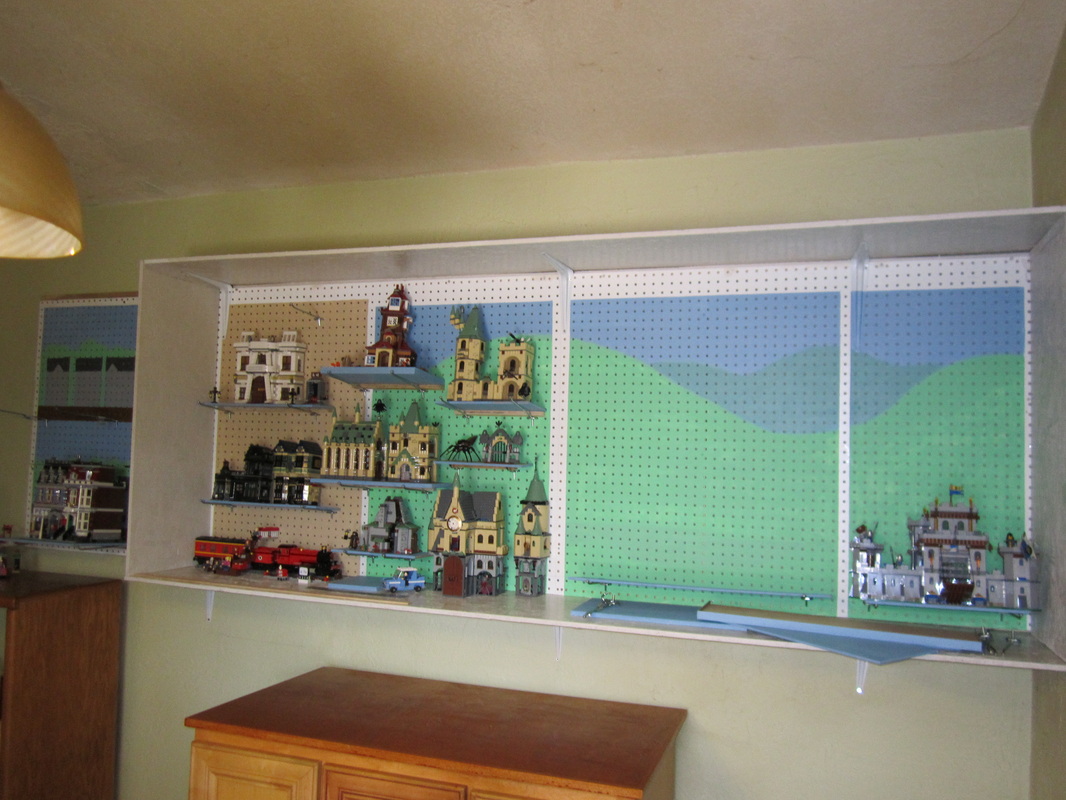
In general, the plan was to put everything on the wall and therefore need very little "storage." So far, it's working.
We cut an assortment of hardboard shelves of different lengths, and finished their undersides in blue - because they are seen mostly from below eye level, especially when sitting at the table. We bought pegboard hooks of different sizes to handle various rearrangements. Then we mounted all the models on the wall. This display requires 24 square feet of wall space.
At this point we had completed about 8 sets: five Harry Potter kits, two Castle/Medieval kits, plus first drafts of some MOC projects. But we knew that more models were coming (see Plan). Putting all these objects on movable shelves gave us the flexibility to rearrange the display board however we wanted it.
DISPLAYING LEGO MODELS: PHASE 2
Castle added, upper left. Mill bridge created.
|
Hogwarts train, Flying car added (lower right).
|
Oops! Crowded again! Firehouse doesn't fit!
|
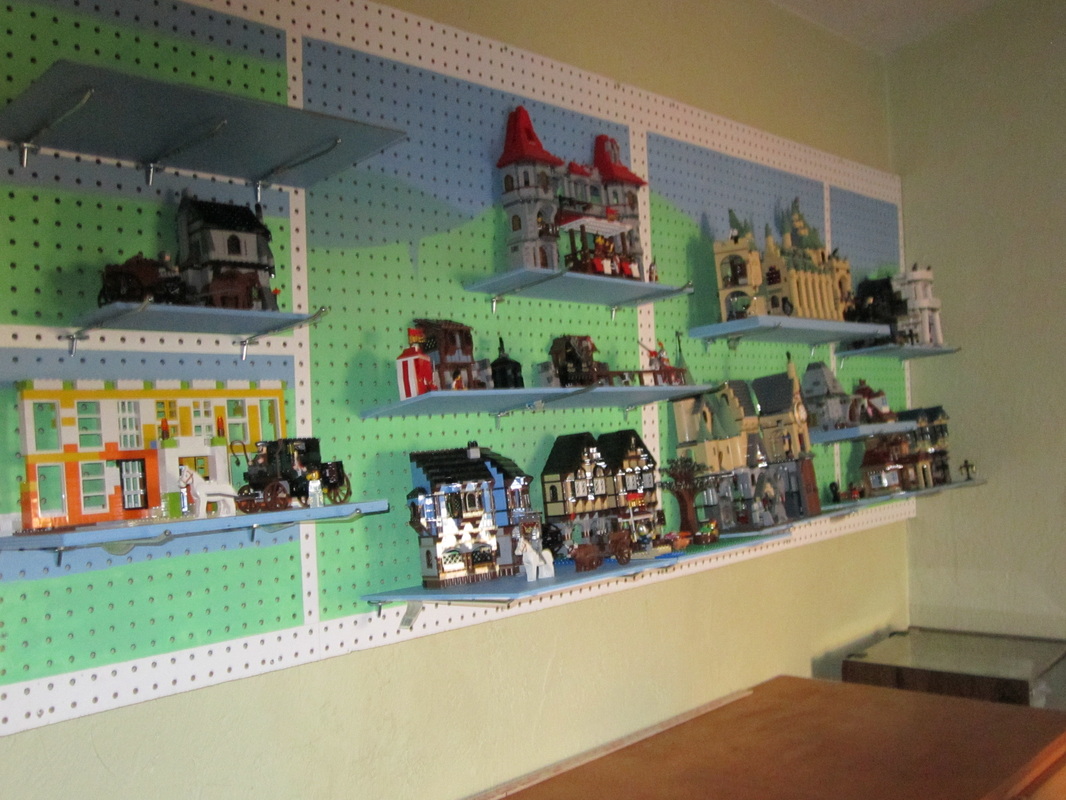
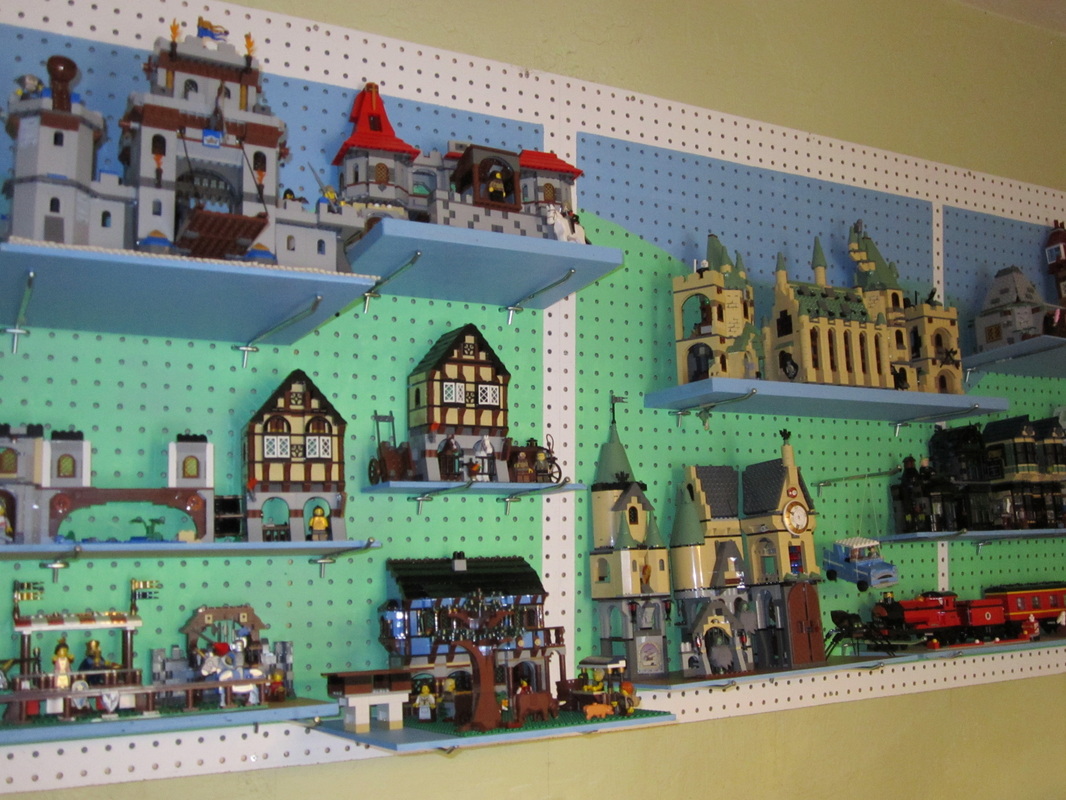
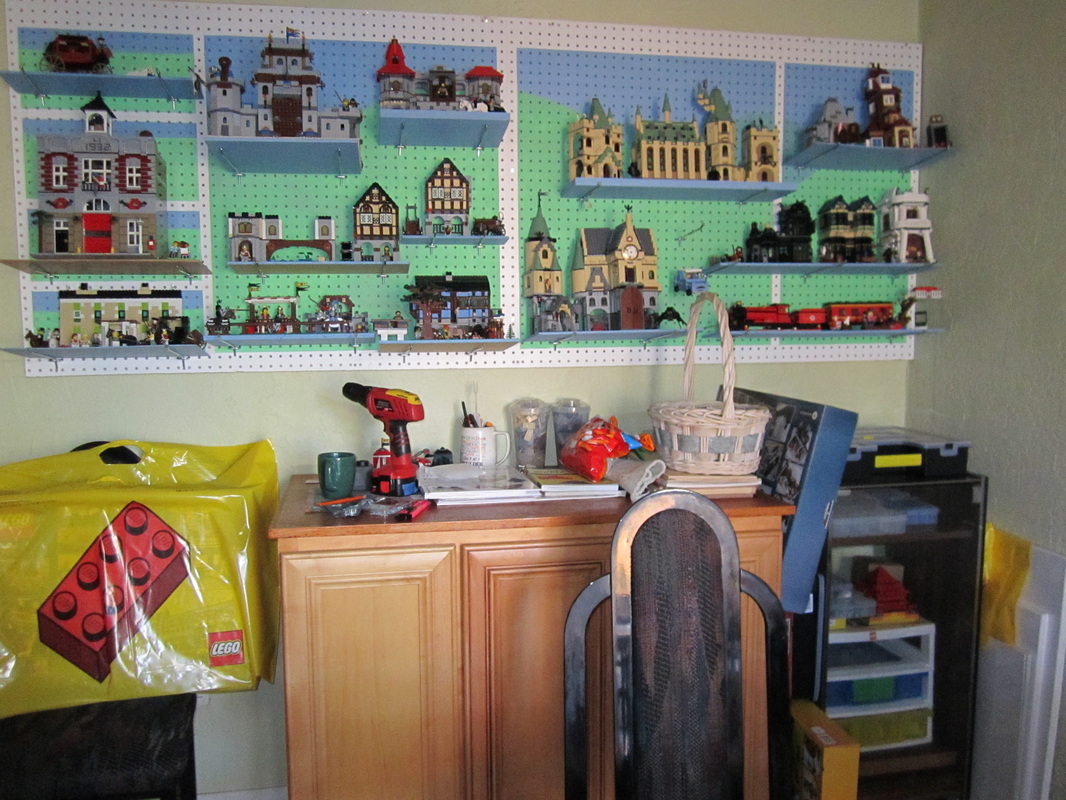
We rearranged the Medieval village board to accept the Castle and accommodate a kit-bashed monastery and bridge (in progress). We rearranged the Potter items to accommodate the Hogwarts Express train on a shelf, and also the magical Flying Car which comes with the train set. Total = NINE large kits, about 9 cu. ft. if stored. (Large LEGO kit = about 1 cu. ft.)
We thought we were done -- but there was more!
Oops! Here came a really large 1932 Firehouse that was not in The Plan. It did not fit either our old-fashioned horse and buggy era or Fantasy theme. And it was way out of scale. We had no real "place" for modern buildings or gas-powered Muggle vehicles. And there sits the Grand Emporium, in the bag, waiting to be built. We needed a "city" section with a different background. Back to the drawing board!
Oops! Here came a really large 1932 Firehouse that was not in The Plan. It did not fit either our old-fashioned horse and buggy era or Fantasy theme. And it was way out of scale. We had no real "place" for modern buildings or gas-powered Muggle vehicles. And there sits the Grand Emporium, in the bag, waiting to be built. We needed a "city" section with a different background. Back to the drawing board!
First, out with the old furniture.

More 1 x 1 framing for the pegboard.
Whoa! Two buildings and a Zen park.
|
"New" cabinet, in from bedroom.

Firehouse fits, but something wrong here.
Now it's three buildings and a carousel?
|
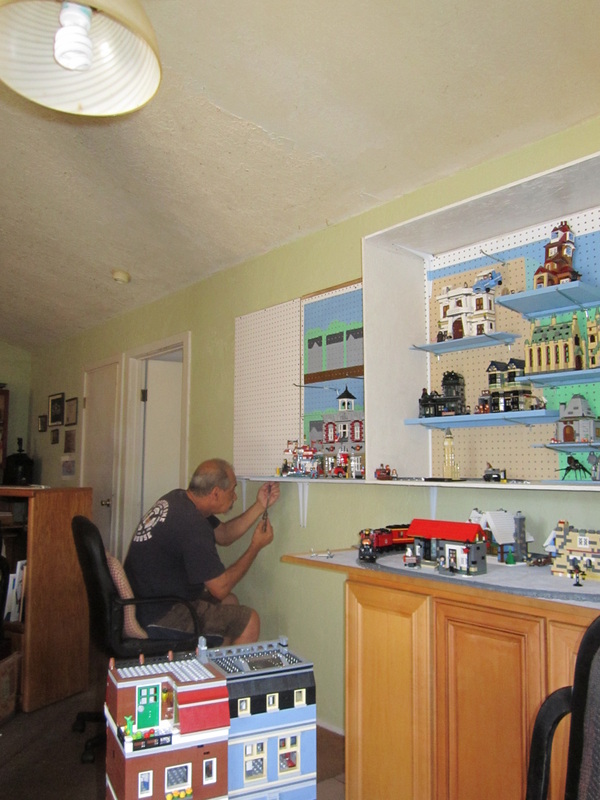
Measuring, finding the wall studs.
Needed to paint a City background.
It's time to pack up and move everything again.
|
A New Display Frame for the "Country" and Magical Items
We decided to move Harry Potter's London to the left section, closer to the Lego city. Then we could move the MOC section (four country estates) to the right. In addition, it was time to put a full frame around the "country" section, expanding the bottom shelf slightly.
In the future, we plan to add large polycarb (or Lexan) windows to keep the dust out. The frame also sets us up for some lighting possibilities. We may also change some of the shelves to custom-cut see-thru plastic, or use it for lightweight partitions between models or sections.
Lego's London at left; new frame box at right.
|
Harry's semi-magical London goes in tan section.
|
Re-installing the pieces. So easy with peg hooks!
|
All the new Lego City pieces in new location.
|
A New Look. Are we there yet?
Looks like we finally got the new look we wanted. The large City pieces are scaled alike and look better on their own background. The new frame at right gave us some room to spread out pieces on the "ground floor," such as the Azkaban pieces. This also freed up some shelving. I changed the dimensions of the tan section to accommodate the length of the new Hogwarts train. 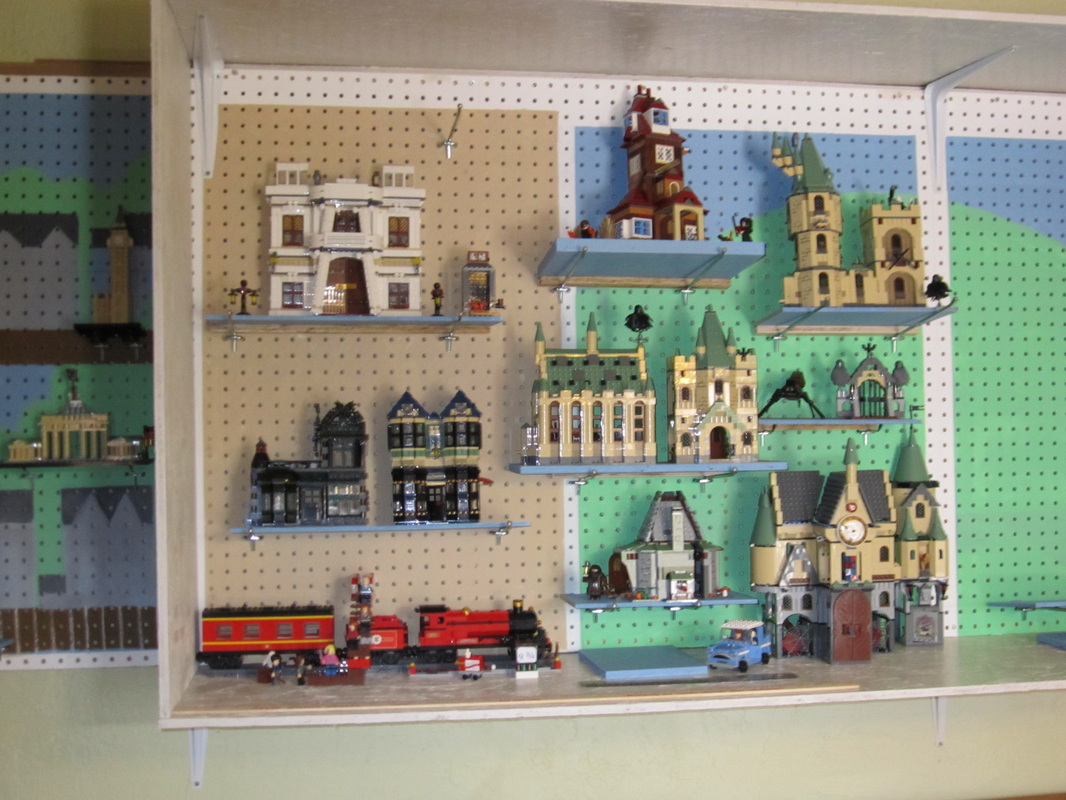
Potter group in new location. Tan = city stuff.
|
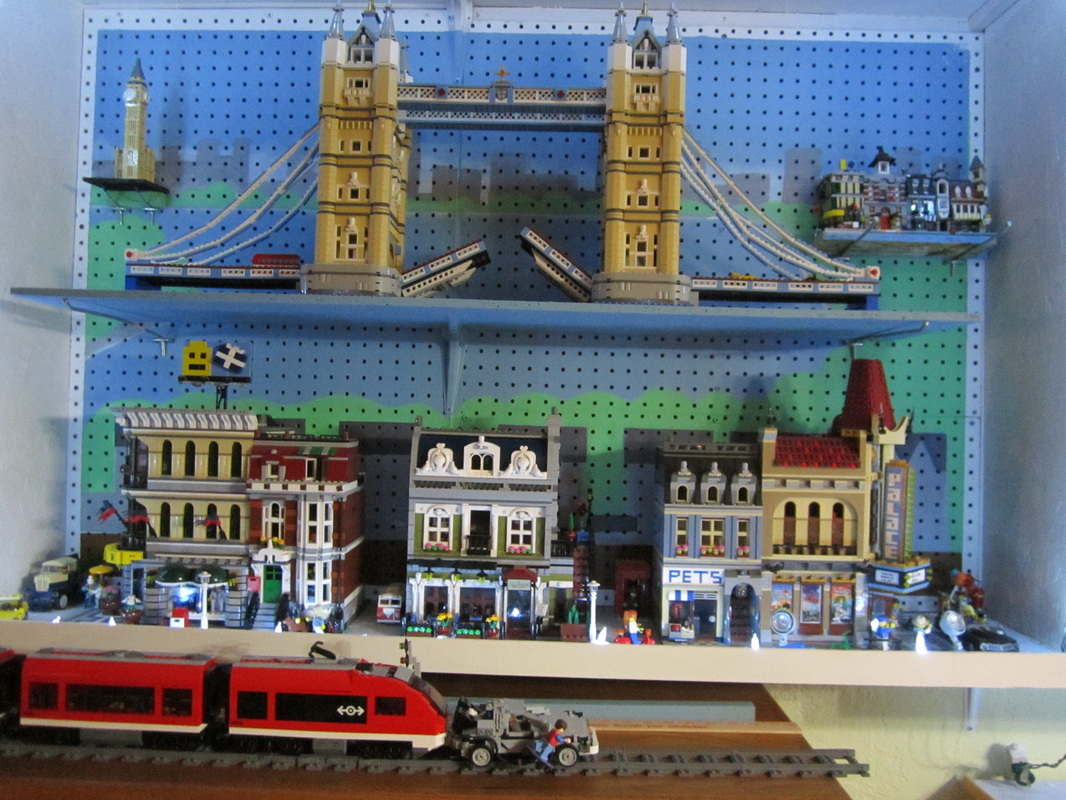
DISPLAYING LEGO MODELS: PHASE 3, Tower Bridge
We had been looking at Tower Bridge for many months, thinking we would never do anything THAT big or that expensive. But then again, Christmas was coming and we had been good boys and girls, hadn't we?
Secretly, we had always sort of envisioned it when we started making that extension down the wall. It was only a matter of time. How could you have a "London" with a Big Ben and no Tower Bridge? It was inevitable. Another expansion ensued. This one was a little easier.
Secretly, we had always sort of envisioned it when we started making that extension down the wall. It was only a matter of time. How could you have a "London" with a Big Ben and no Tower Bridge? It was inevitable. Another expansion ensued. This one was a little easier.
More pegboard, another braced bottom shelf.
|
Pegboard again. New paint job. (White does not work for our themed displays.)
The final arrangement. Or is it?
|
Existing background will be moved to (painted on) the lower level.
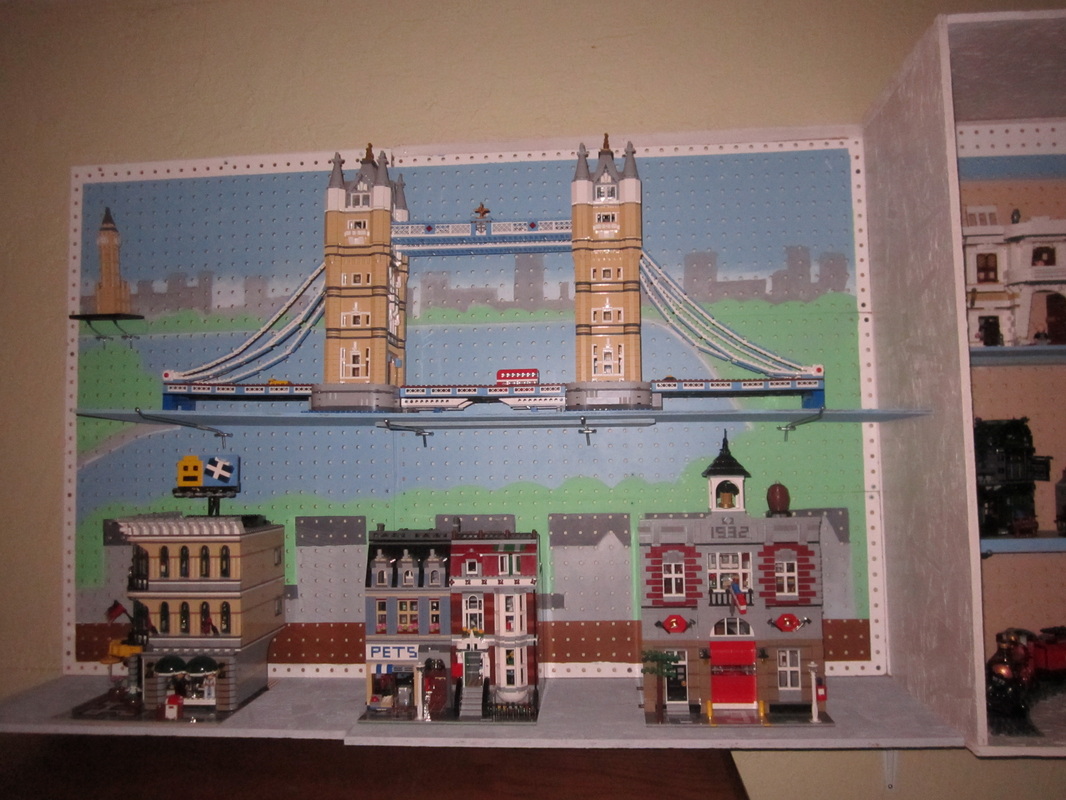
Our London version, Big Ben upper left.
|
PHASE 4, Case bordering added, plus one more space
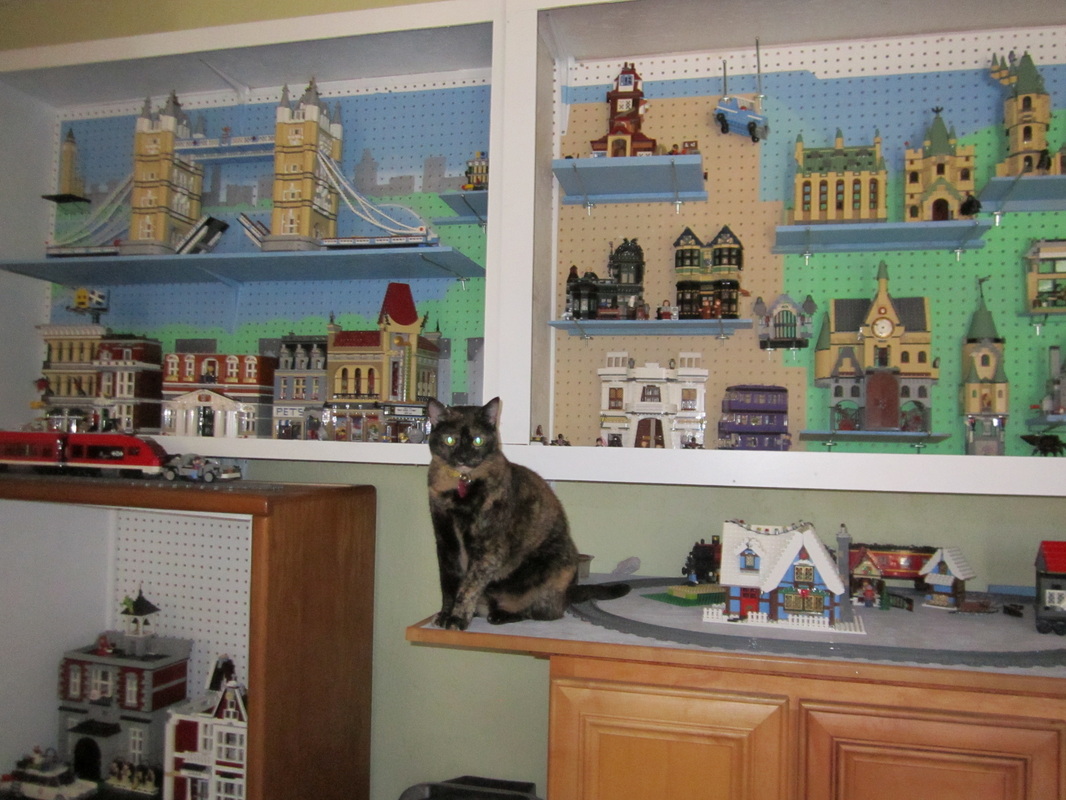
New display, with borders, cabinet added. Cat not included.
In June-July 2014 we added a top and side on the City side of the display, now creating a "box" enclosure like the country side already had.
Around these boxes a frame border was added. The purpose is so that indirect LED lighting can be installed without having to see all the wires. (See Tower Bridge page for lighted model, with wiring visible. Not a pretty sight.) The new framing will also accommodate Lexan doors if we decide to hang them in the future, to prevent dust. We also added a new pegboard box inside the furniture piece below the wall display. (This was an old "entertainment center" on its way to Goodwill.) It was perfect for Lego display, plus storage of books and manuals. |
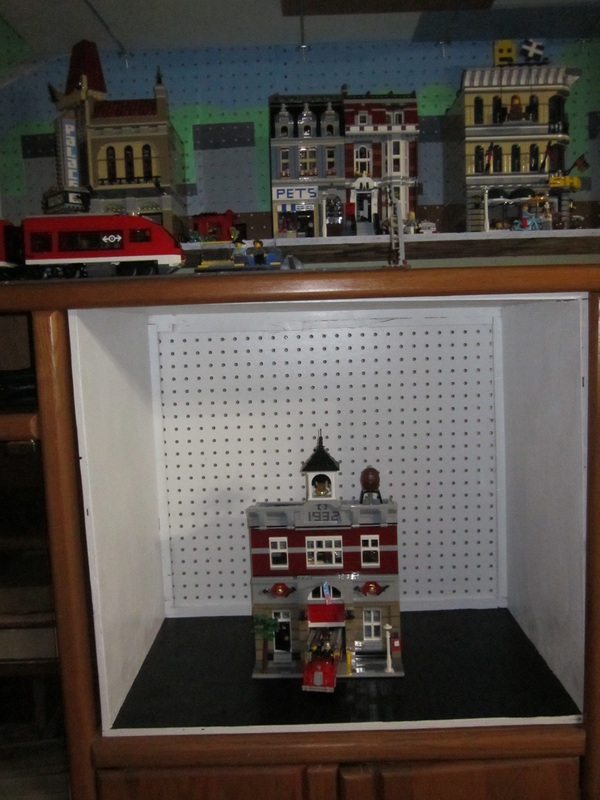
Additional display box, installed in cabinet to handle MOC, or overflow, and smaller items.
The cabinet display box will have pegboard shelves for smaller sets such as the Delorean. Currently it holds the Fire Brigade, the Ghostbusters set, and the big MOC I am working on (the house from Charmed series.) Below is our full display as updated July 2014. It contains 21 larger boxed Lego sets plus 8 MOCs, plus track and power functions sets. |
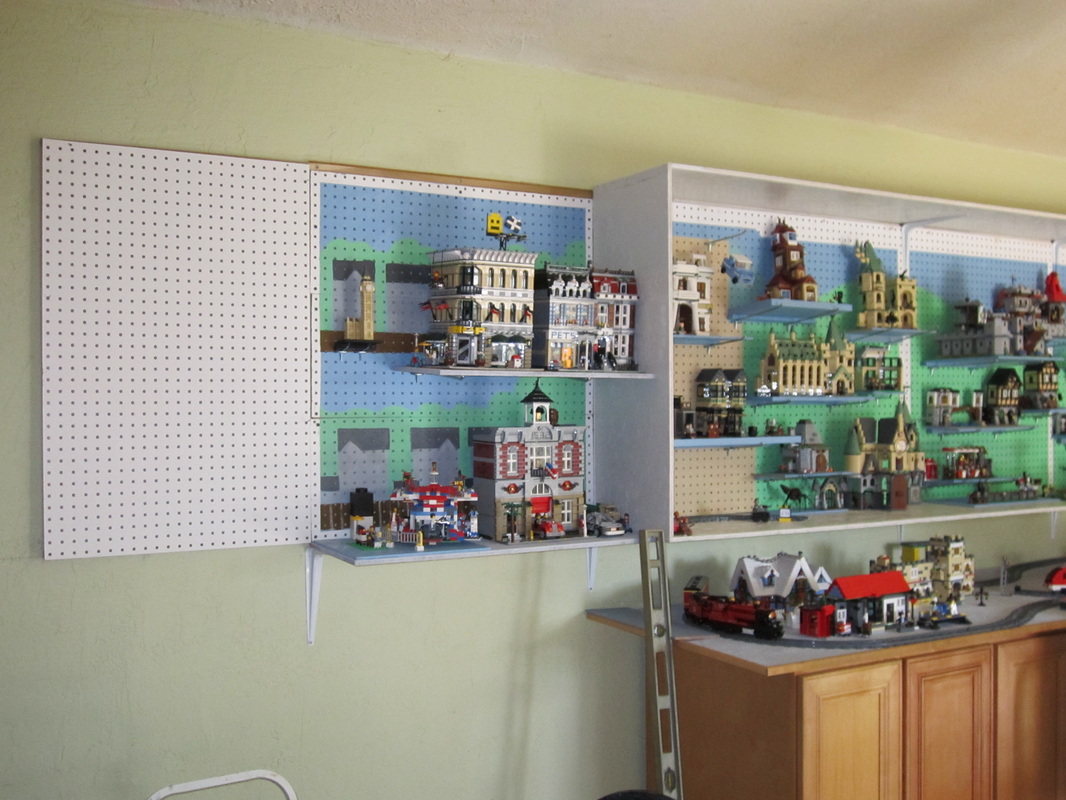
Current LEGO Hobby Wall display - updated Jan. 2015
Left half of Sanddoodle's full wall LEGO display system, Jan. 2015. This half contains 11 Lego sets plus 2 MOCs.